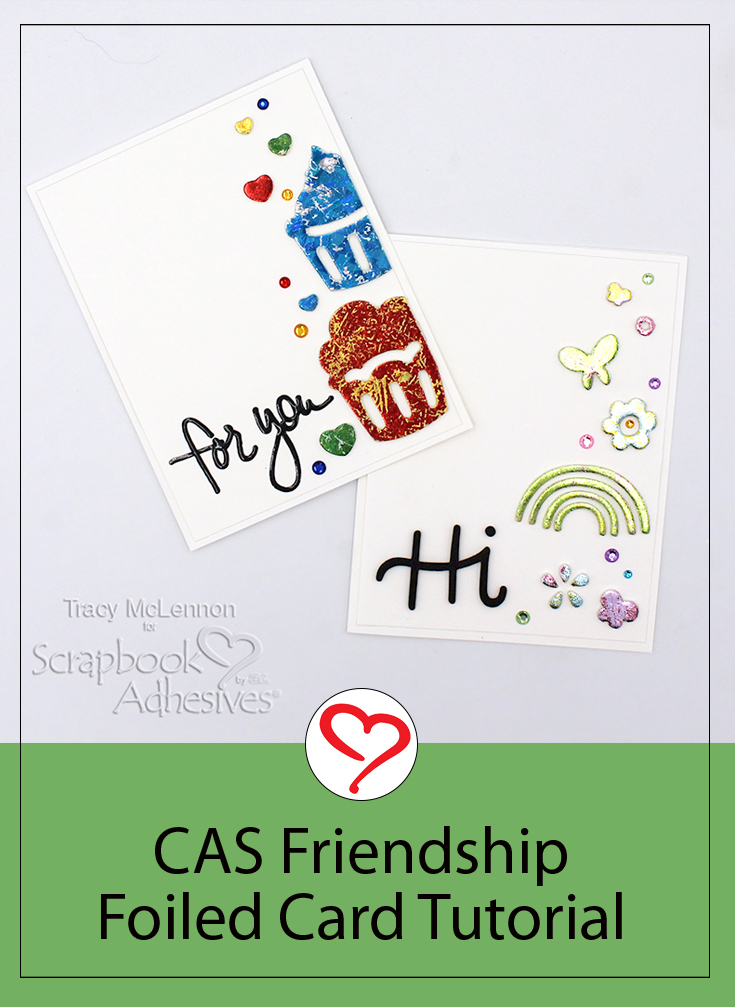
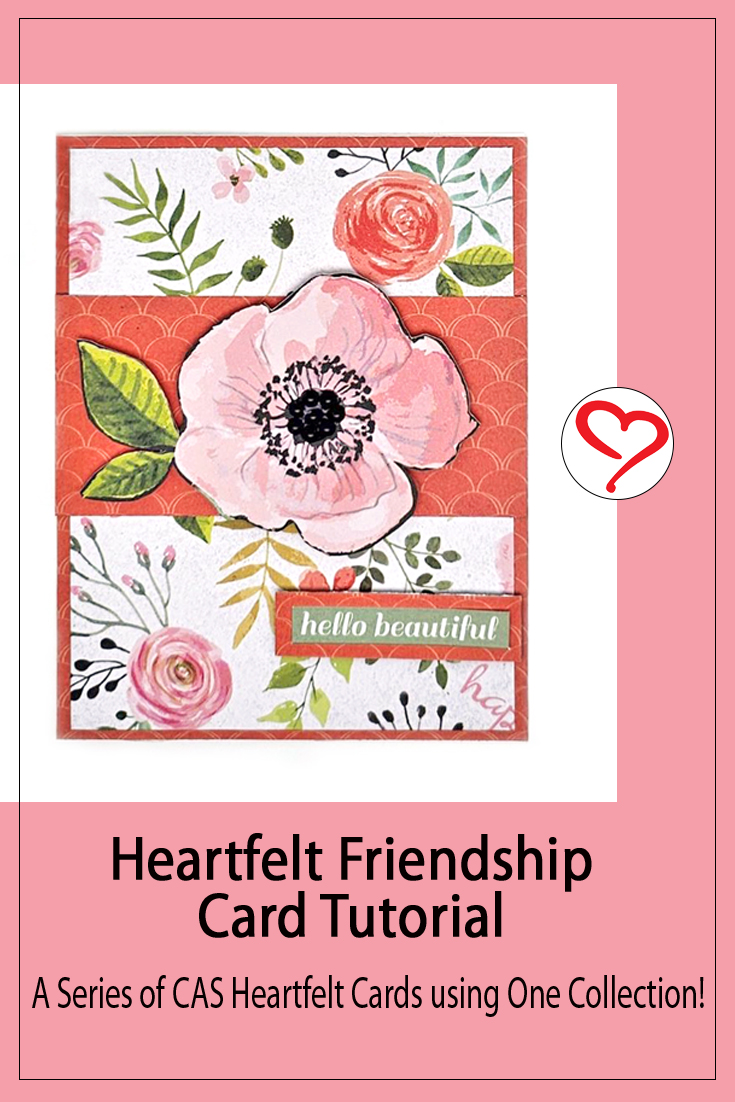
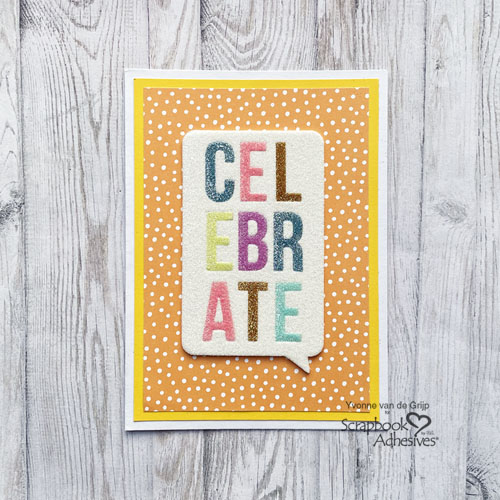
Hi everyone, Yvonne here with a sparkling Glittered Celebrate Card that is super easy to create. It is suitable for beginner cardmakers.
I used the Wear Your Adhesive on the Outside technique in creating this Glittered Celebrate Card. Wanna join me in making this fun card?
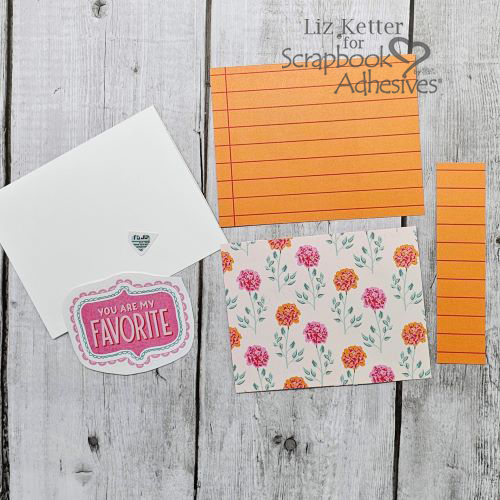
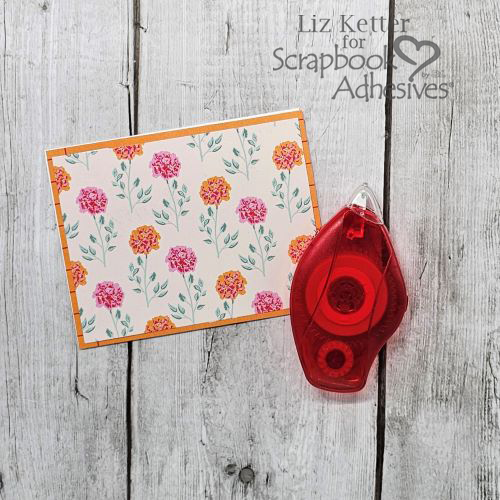
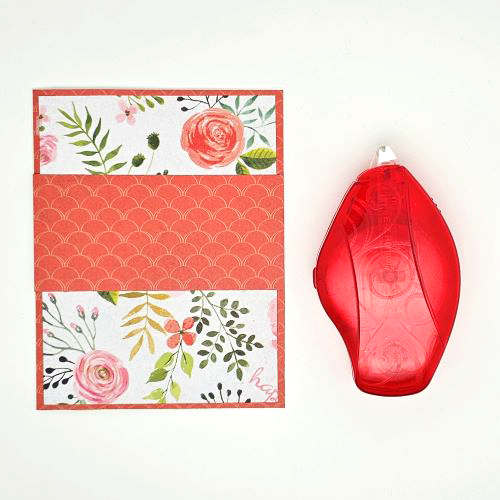
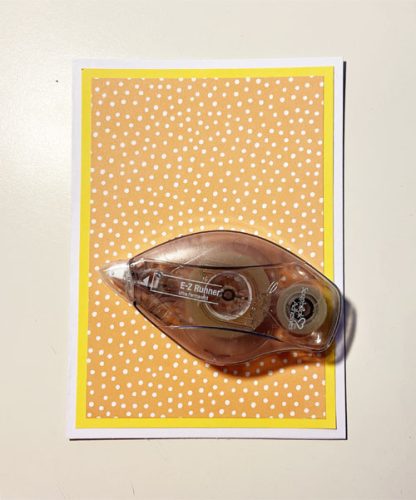
Glittered Celebrate Card Base
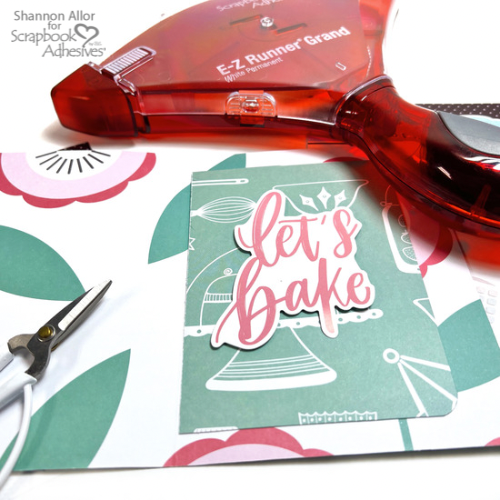
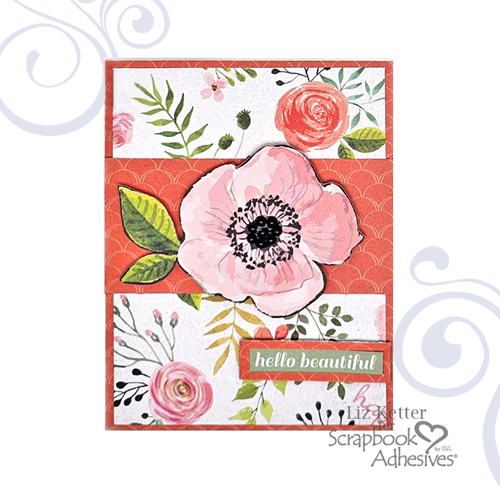
Start by trimming a piece of patterned paper to a rectangle top card panel. Then adhere onto a yellow card panel using the E-Z Runner® Ultra Strong Refillable Dispenser as your adhesive. Next, adhere to a white card base.
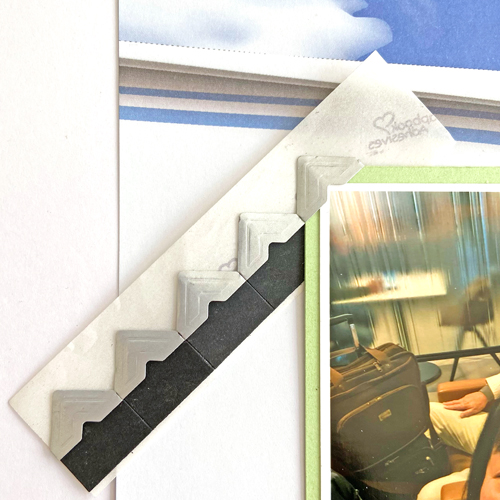
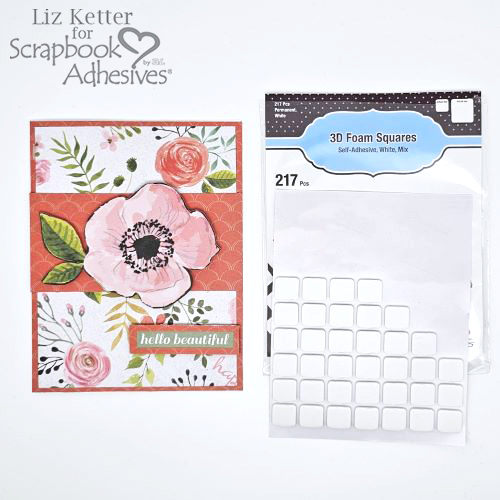
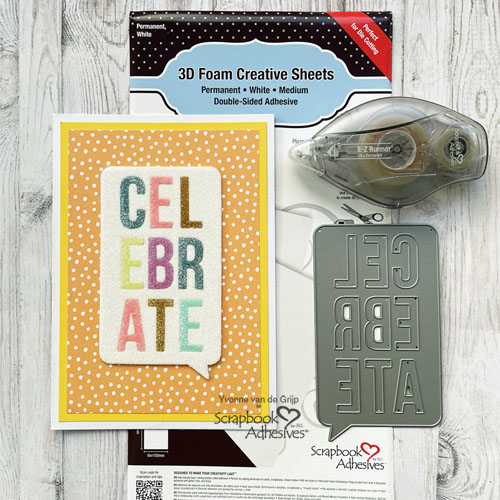
Die-cutting 3D Foam
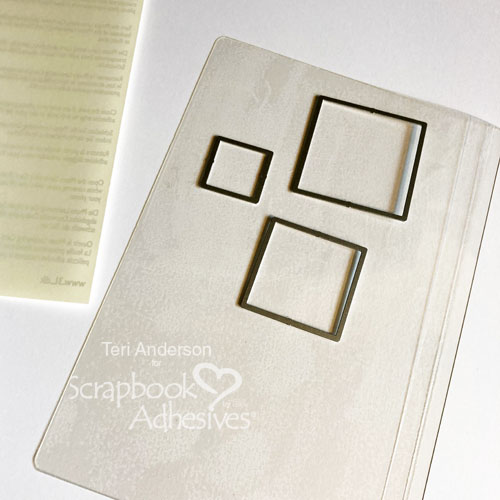
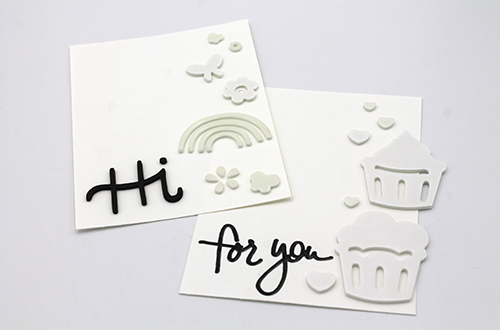
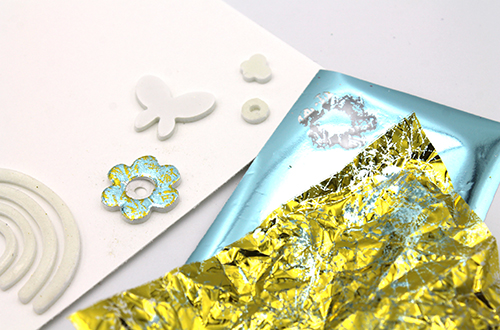
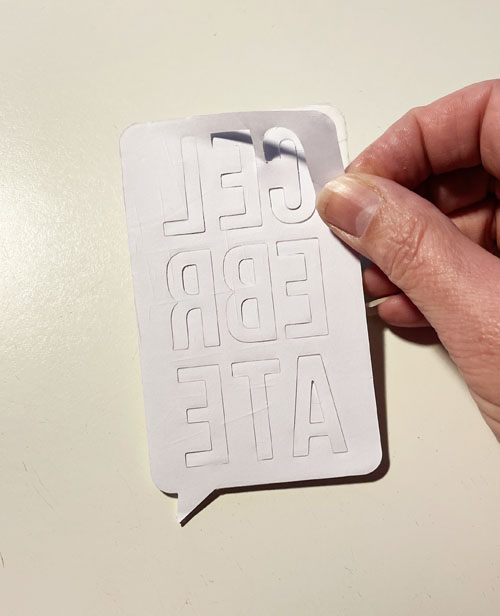
3D Foam Sheets Medium White are perfect for die-cutting and will create a gorgeous uplifting effect for this Glittered Celebrate Card. First, die-cut the Celebrate element from 3D Foam Creative Sheets Medium White.

Then carefully take out the whole die-cut.
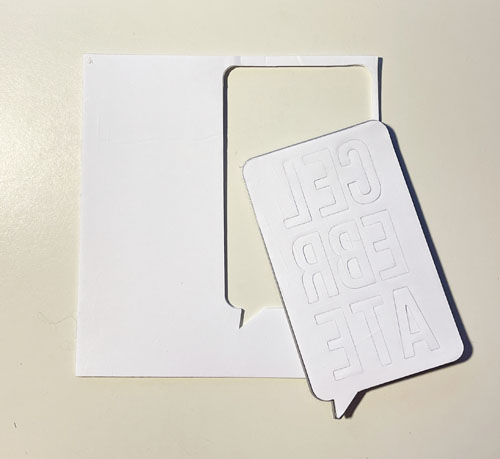
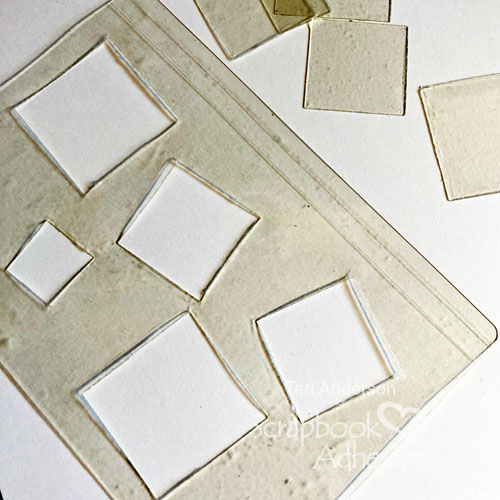
Make sure no piece of the die-cut falls out. Next carefully remove the back liner of the foam die-cut.
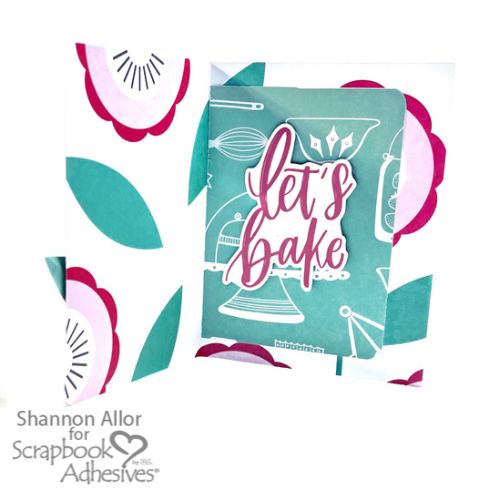
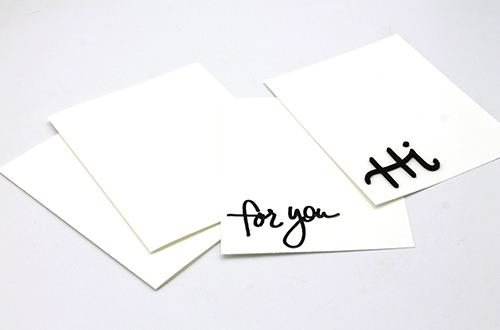
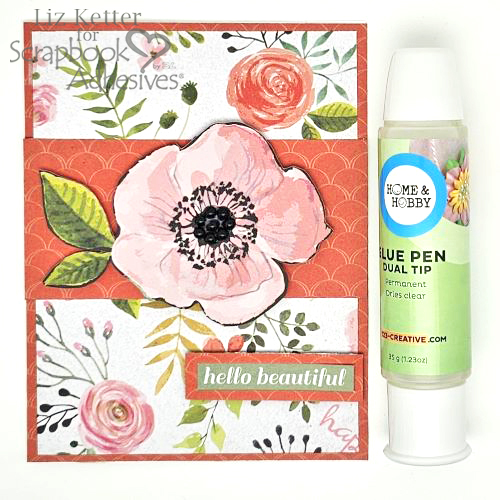
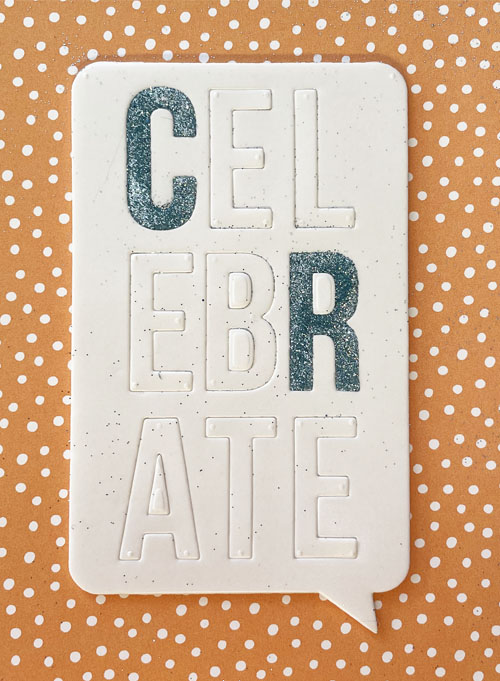
Then adhere the whole foam die-cut onto the card base.
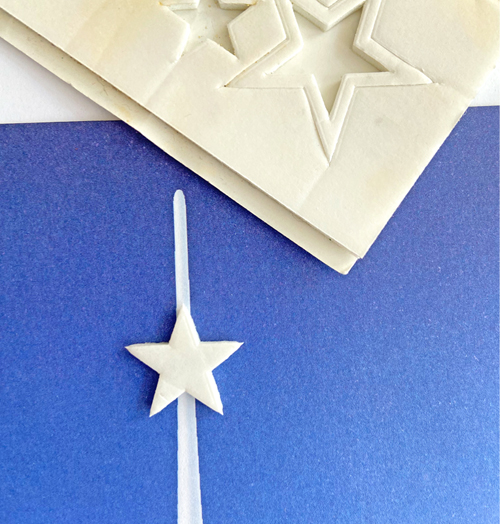
Wear Your Adhesive on the Outside with Glitter
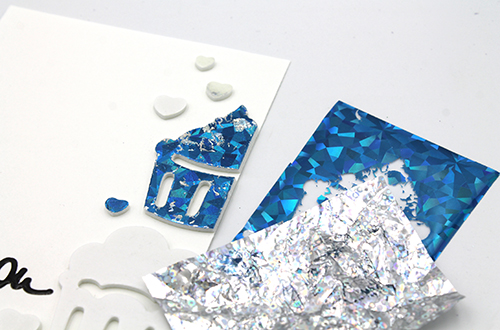
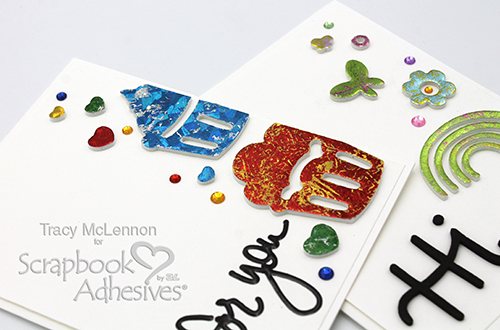
Now the glitter fun starts! Carefully remove the top liner of two letters (I chose C and R) and cover them with blue glitter. Rub the glitter into the letters to secure, and tap off the excess glitter.
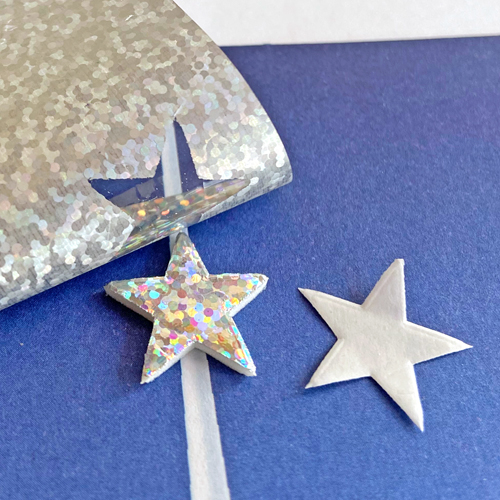
Repeat the glittering steps with the other letters, using different colors. When all the letters are glittered, remove the outside liner (including the small bits within the letters) and sprinkle white glitter all over.
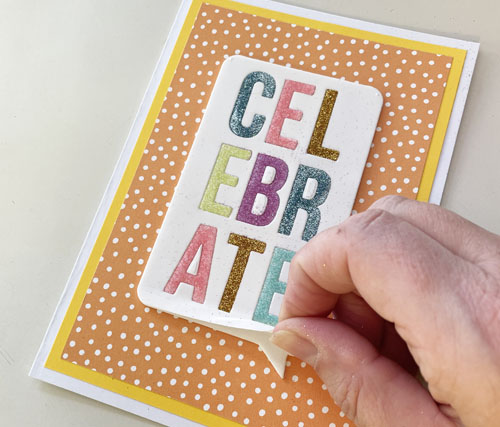
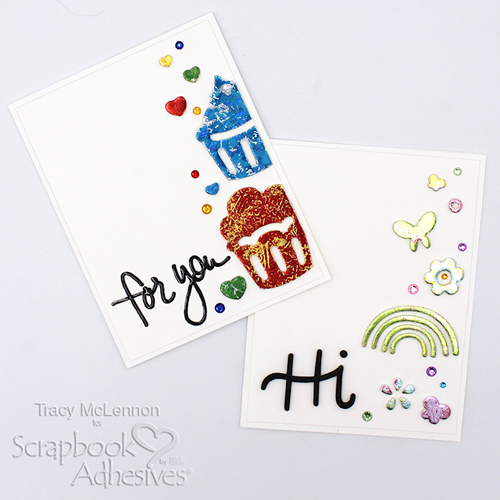
After applying the glitter, remember to tap off the excess. Now you’ve completed the Wear Your Adhsive on the Outside technique. So simple with stunning results!
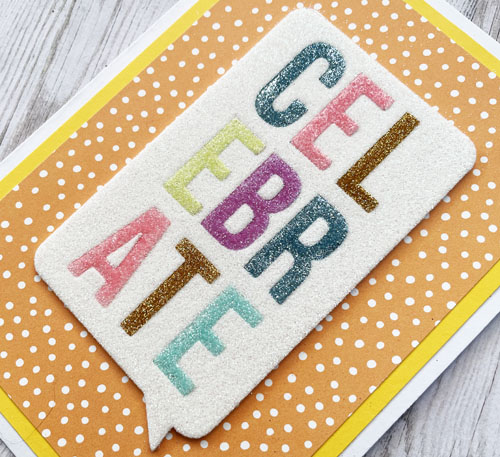
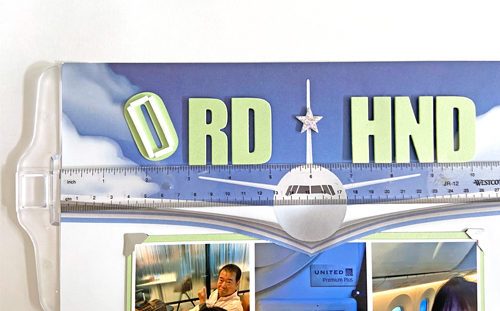
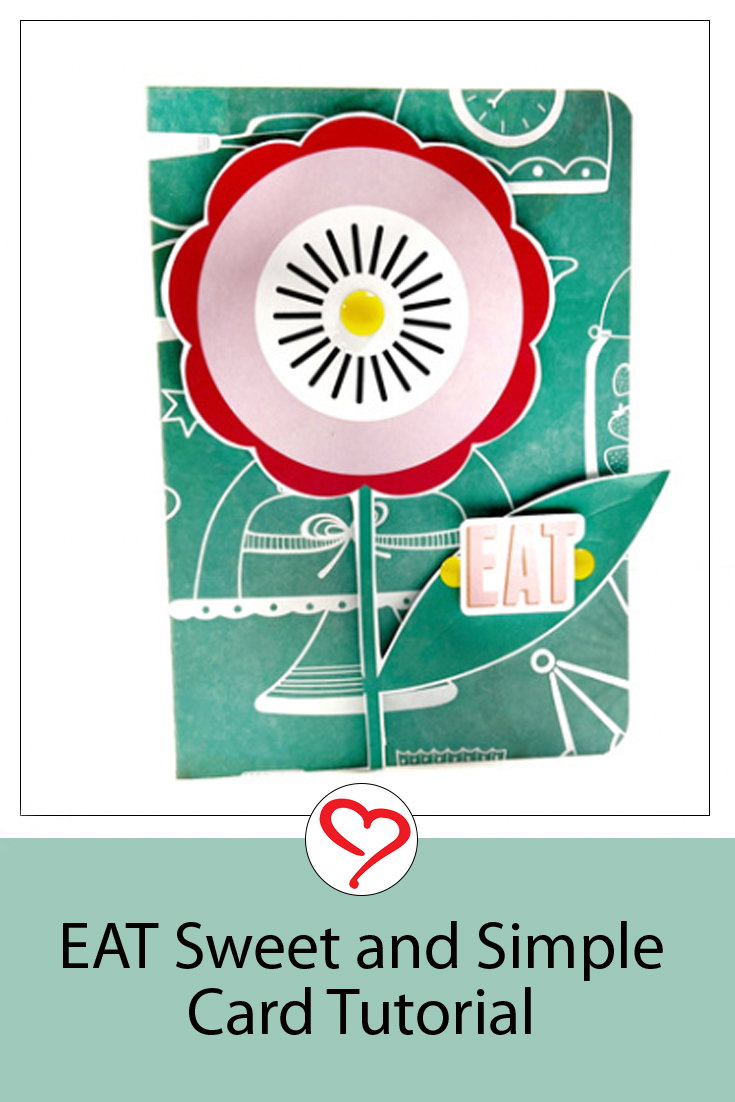
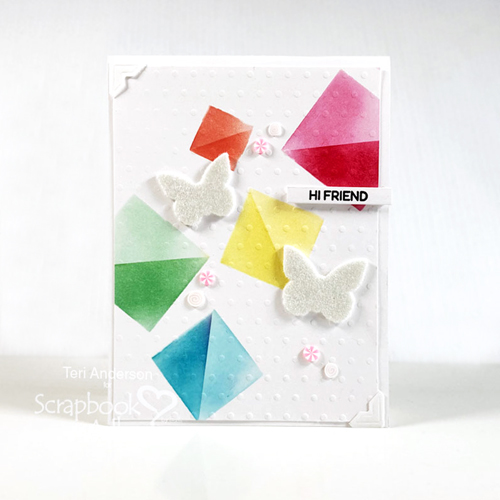
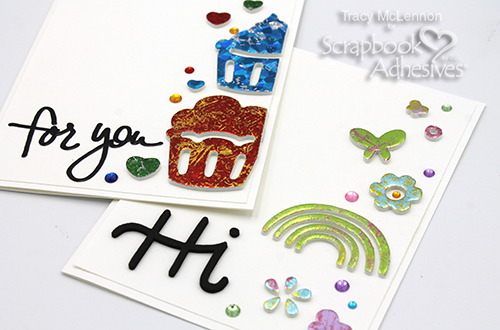
And…voilá, your Glittered Celebrate Card is ready. I hope you enjoyed this tutorial and wish you happy crafting!
Creative Time: 30 minutes
Skill Level: Beginner
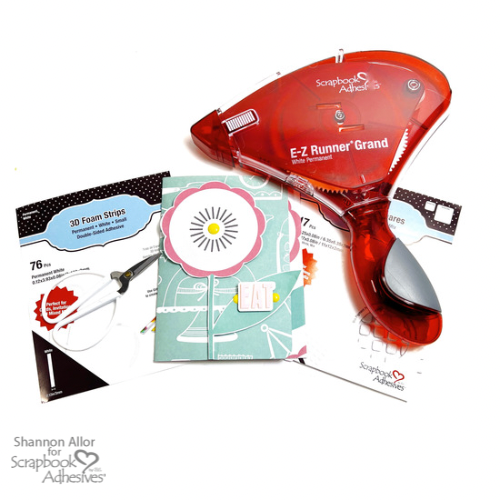
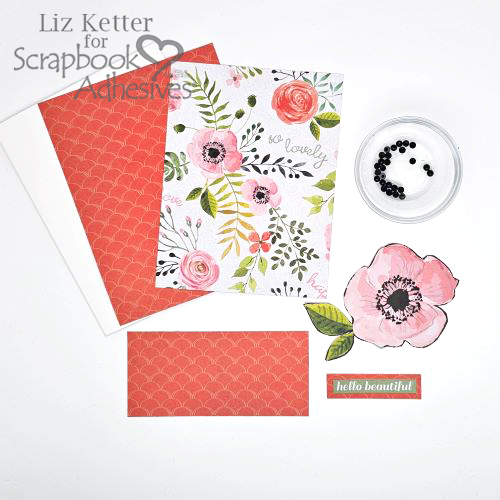
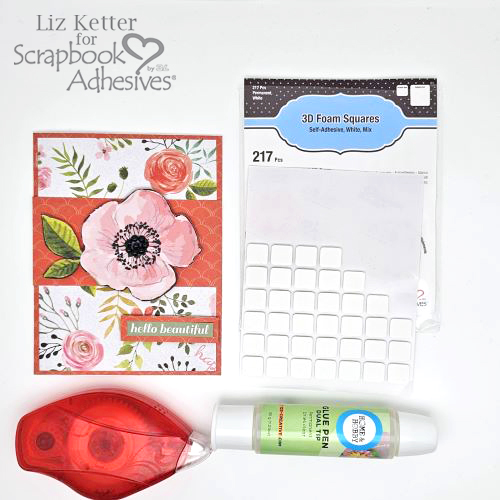
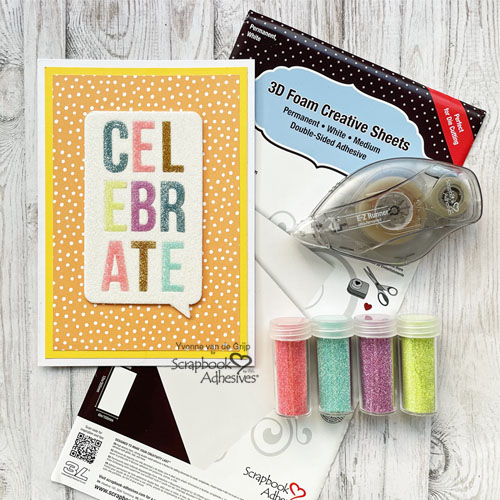
Materials needed:
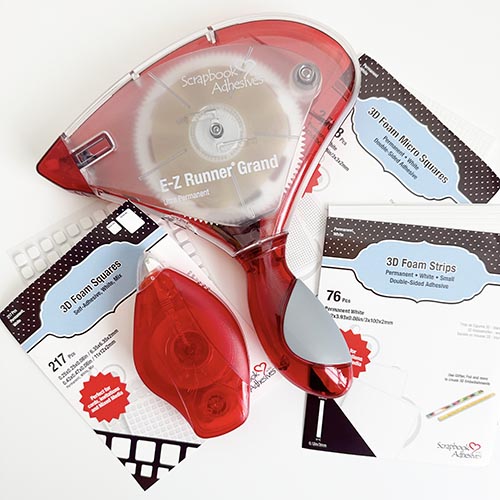
Scrapbook Adhesives by 3L®
E-Z Runner® Ultra Strong Refillable Dispenser
3D Foam Creative Sheets Medium White
Other: Patterned Paper: Simple Stories (Sunkissed Collector’s Essential Kit); Etched Dies: My Favorite Things (Die-namics Celebrate Speech Bubble); Die-Cutting and Embossing Machine: Spellbinders® Paper Arts (Platinum 6 Machine); White, Gold, Blue, Green, Pink, and Purple Glitter; White and Black Cardstock; Scissors; Paper Trimmer
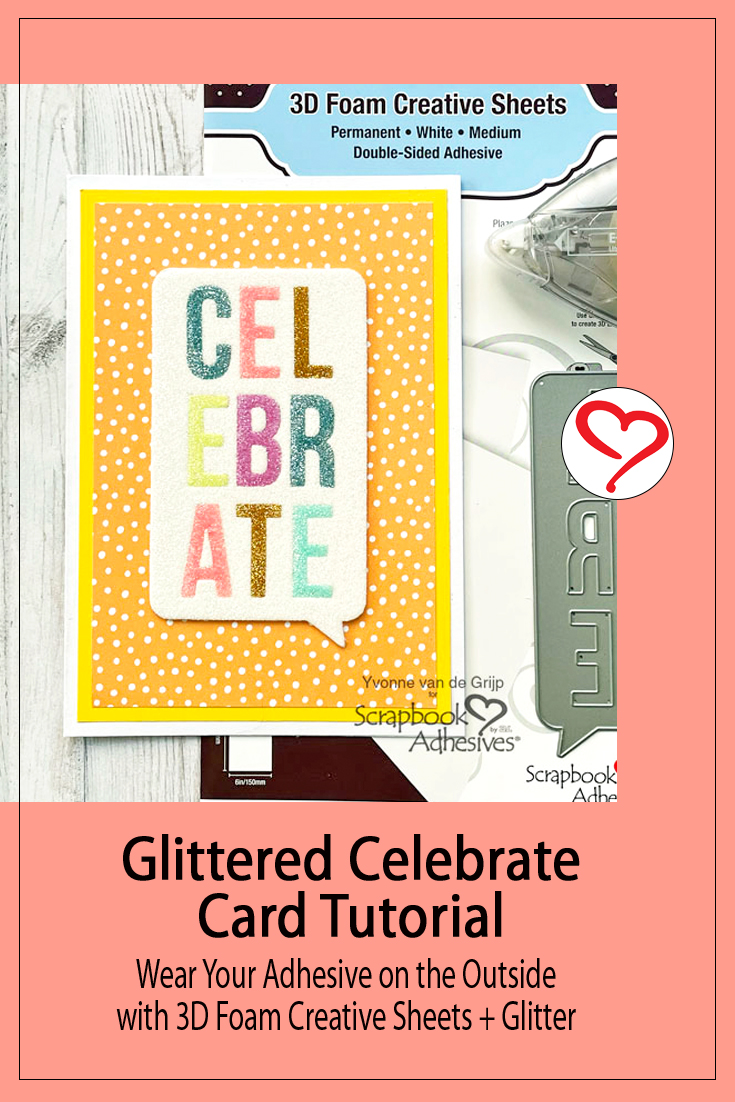
Save to Pinterest!
Visit our Website and Blog!
Sign up for our Newsletter so you never miss a contest or giveaway!